Whip the Floortm predicts and live tracks the vote count for an upcoming floor assembly convention in real time. It allows campaign managers, delegates, lobbyists, activists and everyday people to organize an effort for a cause they believe in. It comes in two parts: admin part and whip user part. The whip part is 100% mobile and allows live instant updates on vote preference on any campaign with tens or even hundreds of whips if needed. To established campaign, it gives the efficiency and robustness of a well working model. To grassroots campaign, it gives the ability to step up the game and actually have a chance to win.
There are countless cases Whip the Floor could be used. The obvious usage could be in the areas of
- Permanent convention like Congress session
- National presidential convention like DNC or RNC
- State party convention
- District caucus
- County convention
- Jurisdiction convention
- Ward caucus convention
- Small city election
- School board election
- Business board election
- Student council election
- Any municipal election
- Any assembly that uses some type of rules and attendees are predefined
There are two ways for users to sign up for whipthefloor.com. The first way is to click on the menu on Signup link.

That opens a blank Signup form.
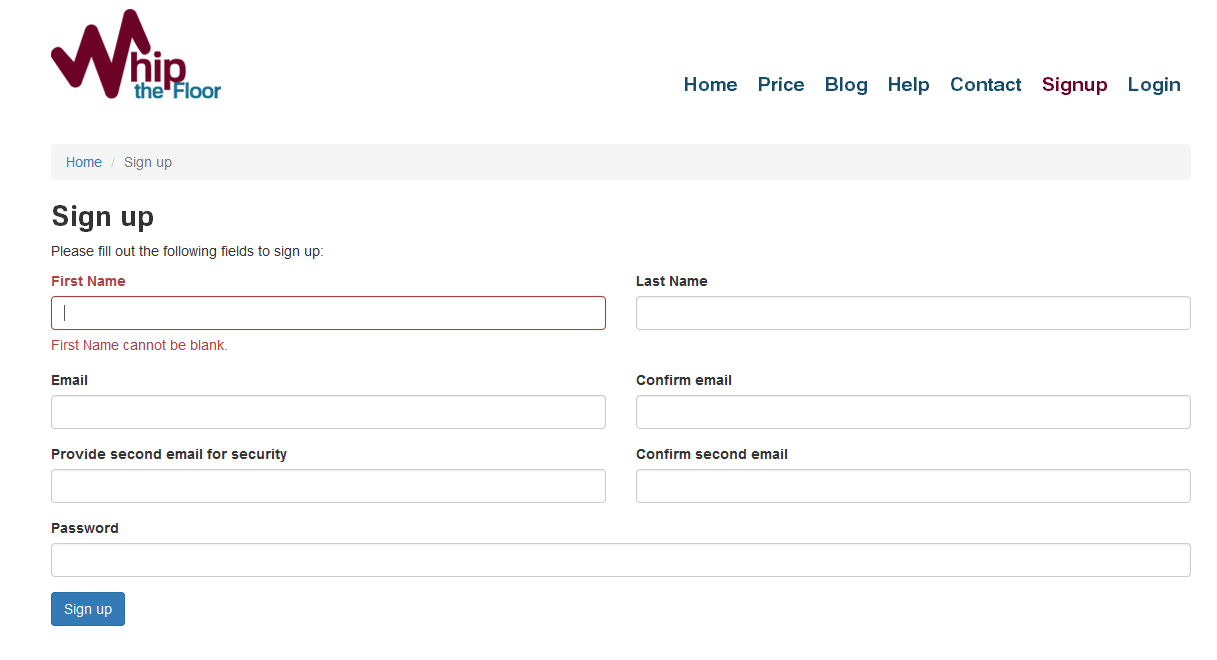
Fill each text box as shown below
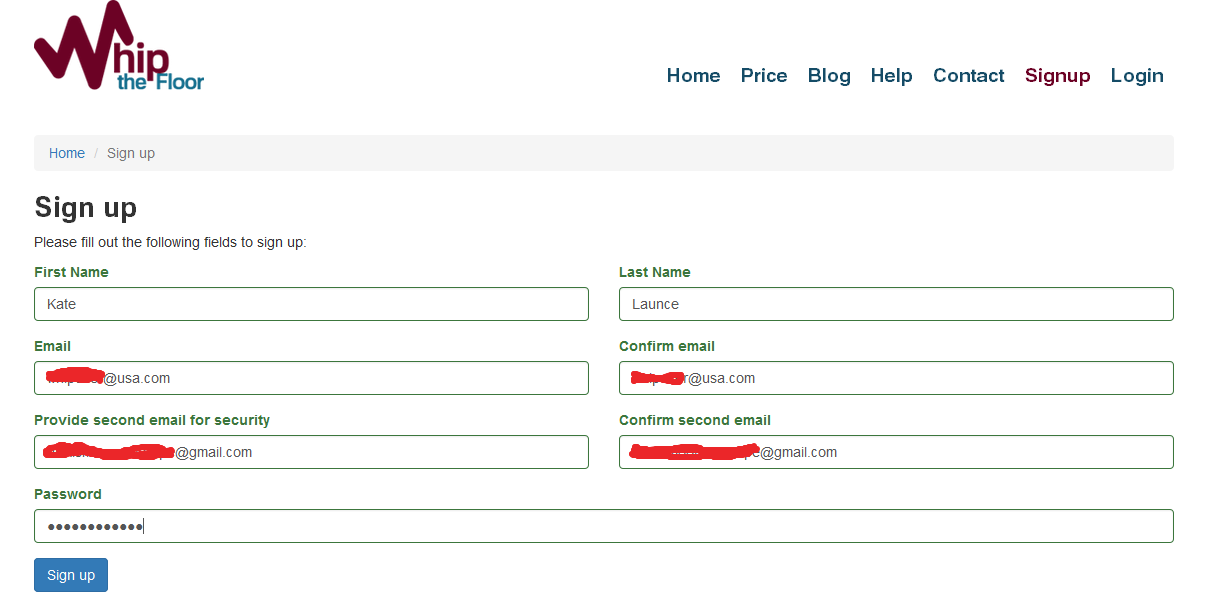
Click Signup button.
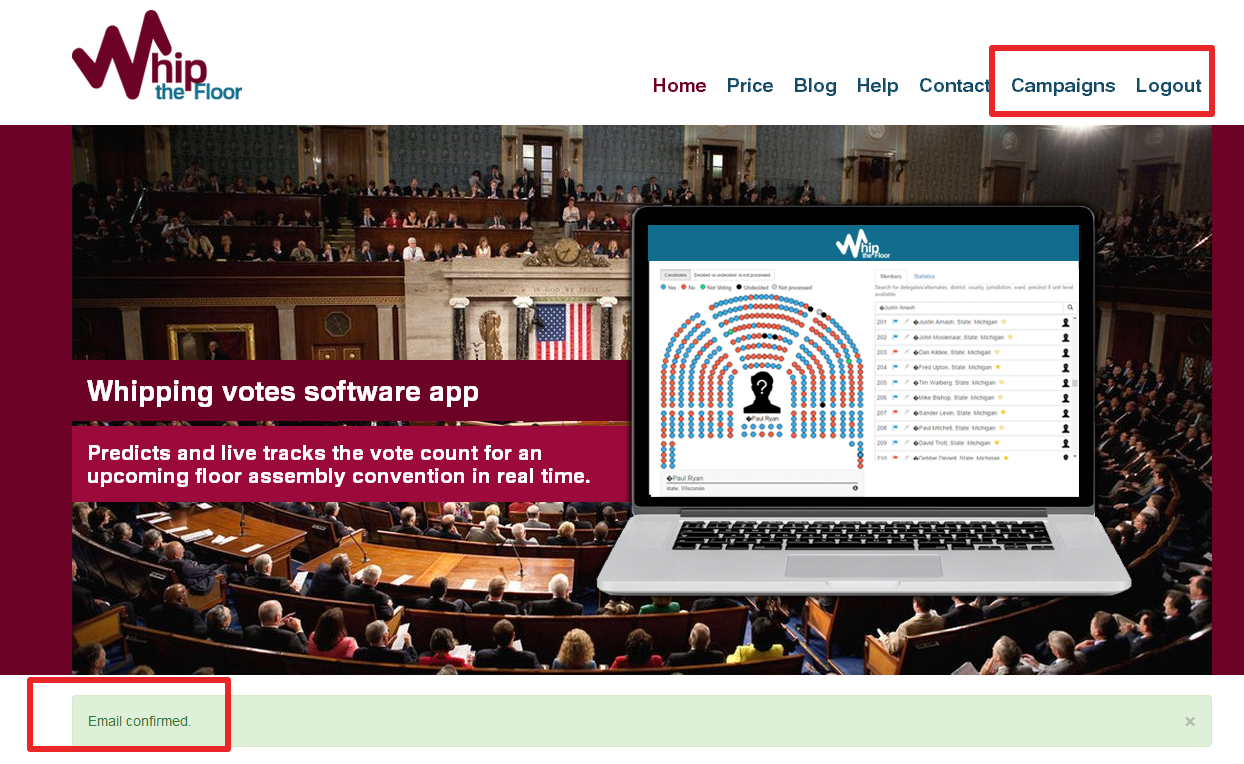
Conformation on the screen will appear that an email was sent.
Email will have the following title. If email is not found in Inbox, check spam folder.

The email will contain a link that will finish the registration process. Click on the link.
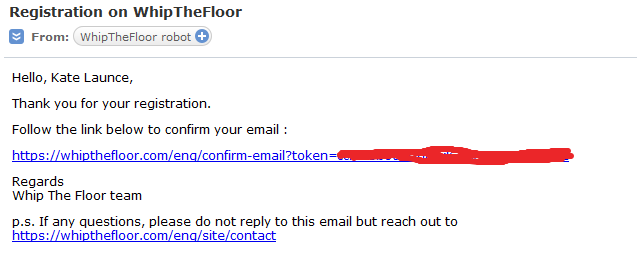
Done.
The second way of signing up as a new user is done on the fly. New user can simply start uploading a new file and prepare new campaign and during the process registration is also done.
That is covered in Create Campaign section.
To login user simply clicks on Login menu link.

Then fills the form information and clicks Login button
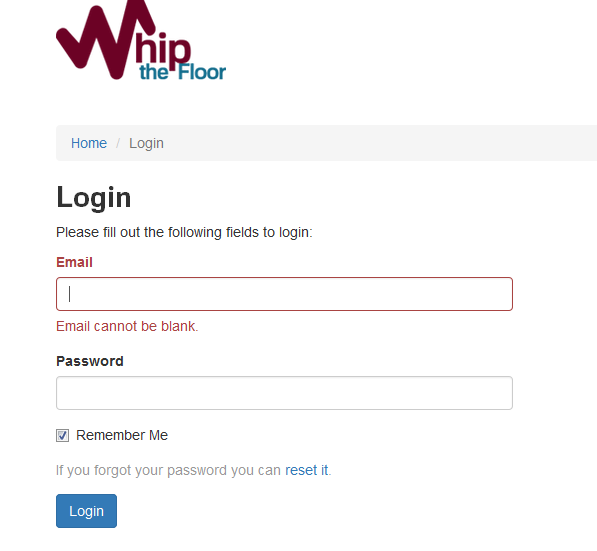
If user forgets its password, click on the reset it link.
A new form opens. Fill your email and click send.

User should receive an email with the following title

The actual email will look like that
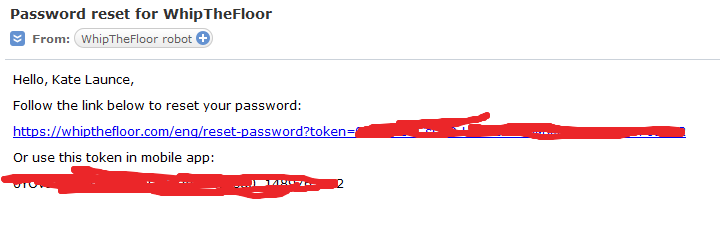
Click on the link to complete password reset or if you are on mobile phone, get the Whip the Floor app and register from there.
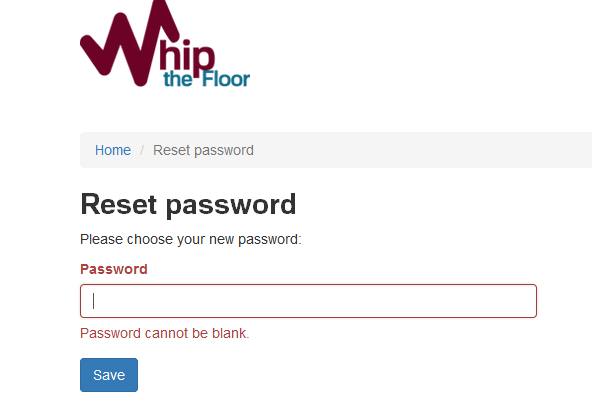
Type in your new password and click save.
Done
To logout, user simply clicks on Logout button

Done
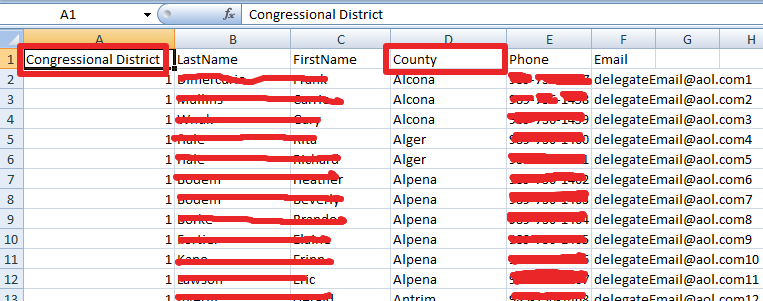
User can start a campaign by uploading new data. Drag and drop the predefined file to the designated location.
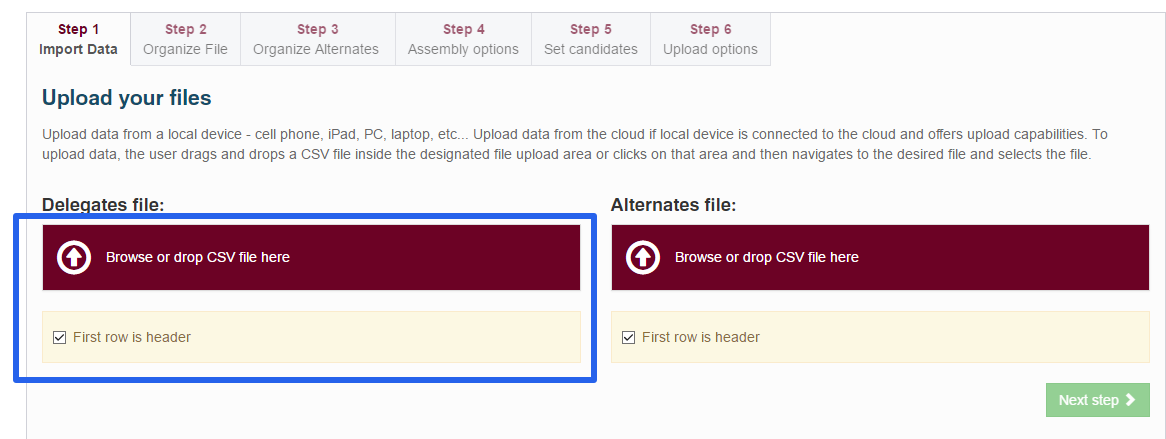
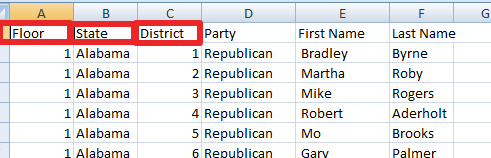
The only requirements are for the file to be of csv format and to have three mandatory fields. The fields can have any labels but they should contain first name, last name and one group from the following: Floor, State, District, County, Jurisdiction, Ward, or Precinct.
The system also allows second sublevel to be selected. For example, Congress can have Floor and State.
State party convention may have District and County.
County convention may have Ward and precincts.
If the assembly does not have any of these group types simply select two and assign them.
For example, in a state party convention, a file may contain one column with unique IDs for districts and maybe a sublevel inside each district as a county.
Whip the Floor will support floor, section of the floor, and subsection.
The floor level will be added automatically.
For Congress like session, you would need to add floor column with value 1, section level like states and if desired, sublevel of section like district.
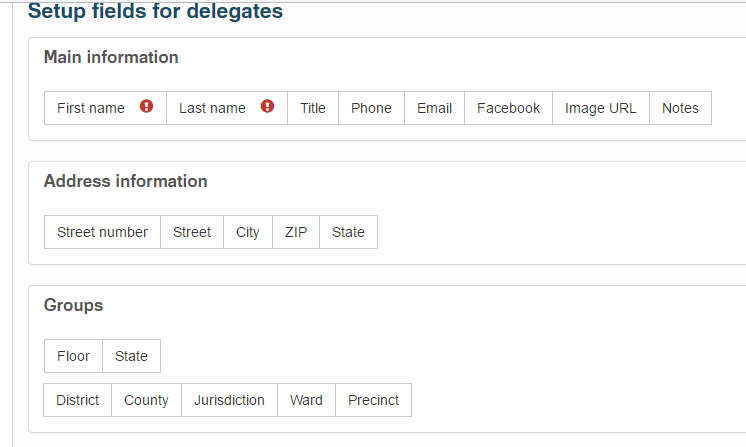
Next step is to map file columns to some data fields.
The data fields are grouped into three sections: main, address and groups.
To map the values, use the grid table where admin clicks on the gear icon on each header and selects the appropriate value.

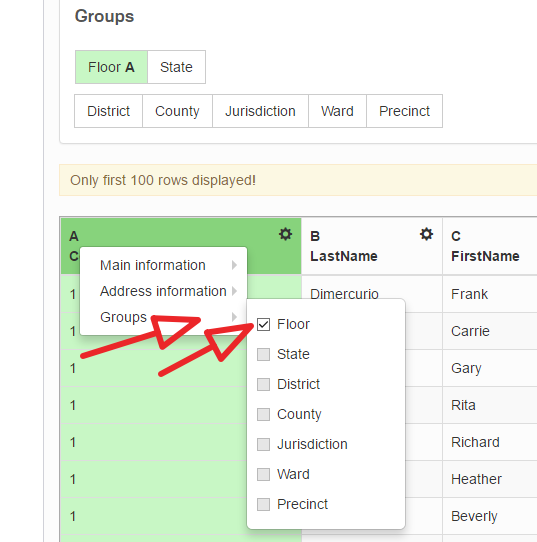
User maps every row that admin can use later. Best if admin maps all available values.
It is very easy to create a campaign after all fields are mapped.
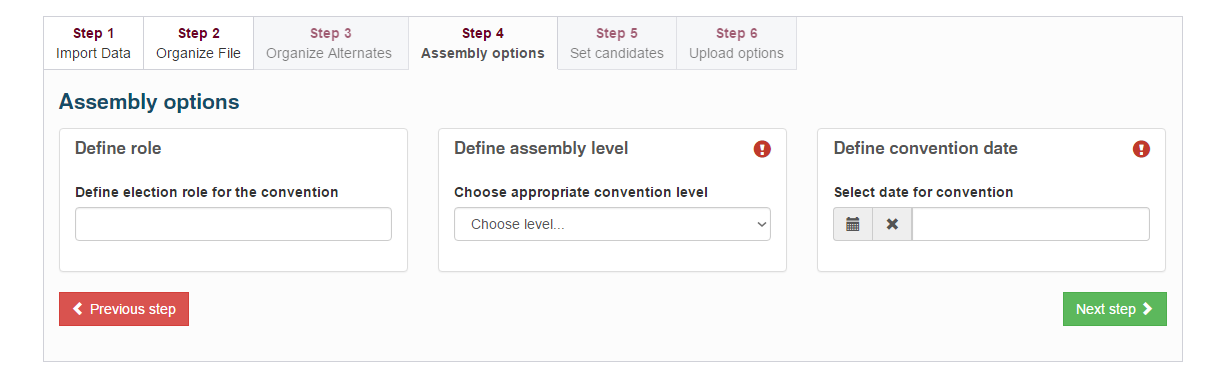
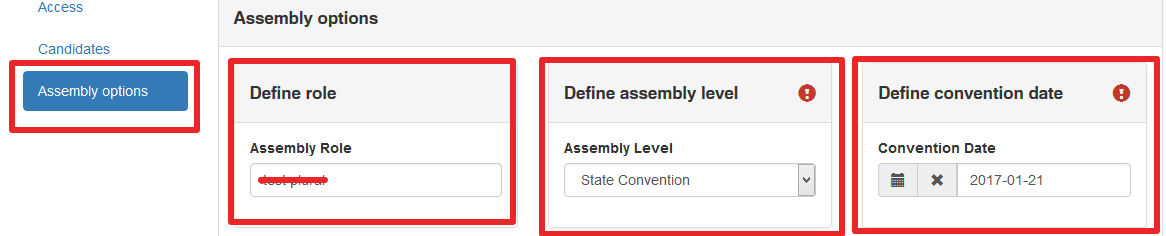
First, simply enter the title of the election campaign. For Congress or Parliament session that is usually the name of the bill. For party conventions,etc., that is the role the candidates will be competing for.
Second, select the campaign level. If for some reason you do not see your desired campaign level, you can always adapt and choose the level that will give you two levels down to play with later.
Third, select time for the convention.

When candidates are part of the assembly file that was imported, simply start typing their names and they will appear in the text box for selection.
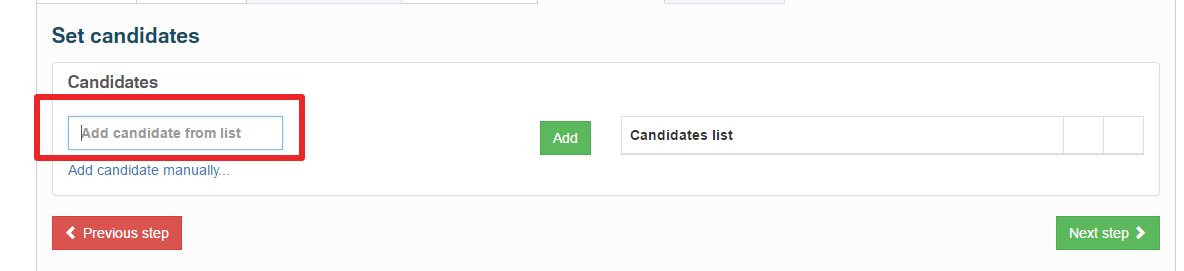
After selection, the candidate from assembly list needs to be added to the candidate list by clicking on the add button.
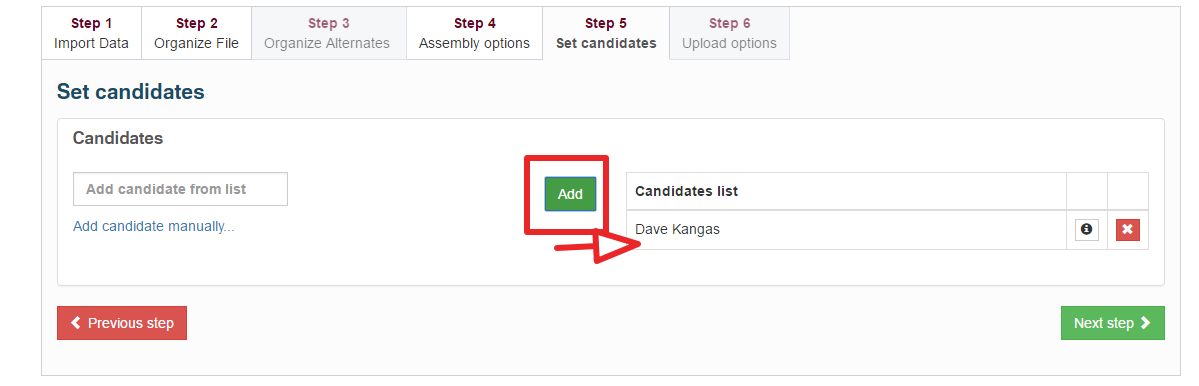
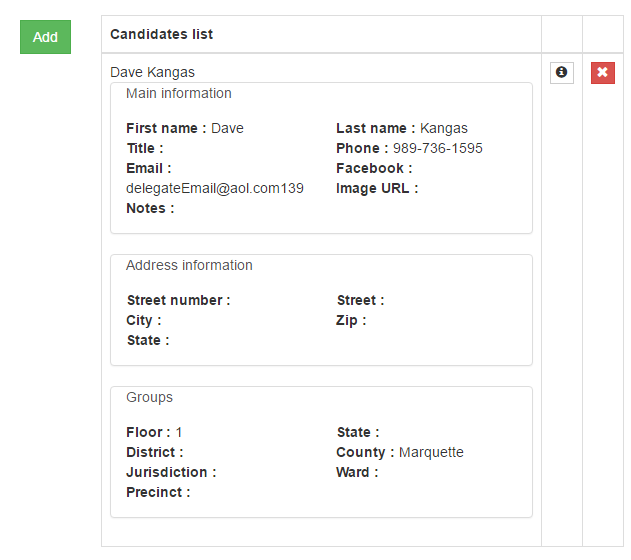
You can expand on the little information icon to see more details about the candidate.

If the candidate was not found in the assembly list, click on Add Candidate Manually link.
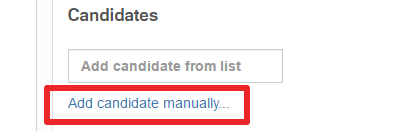
That opens a form with a few fields that need to be filled out. Then click on Add Candidate button.
There are three required fields;
-First name
-Last name
- Group selection
The group selection must follow the group selection the imported assembly file has already.
For congress or parliament campaign, add multiple "candidates" to reflect bill choices:
Candidate 1: first name: Yes", last name:"."
Candidate 2: first name: "No", last name:"."
Candidate 3: first name:"Undecided", last name:"."
and so on.
Next step is to upload the campaign. After upload admin will have full access to change it if needed.
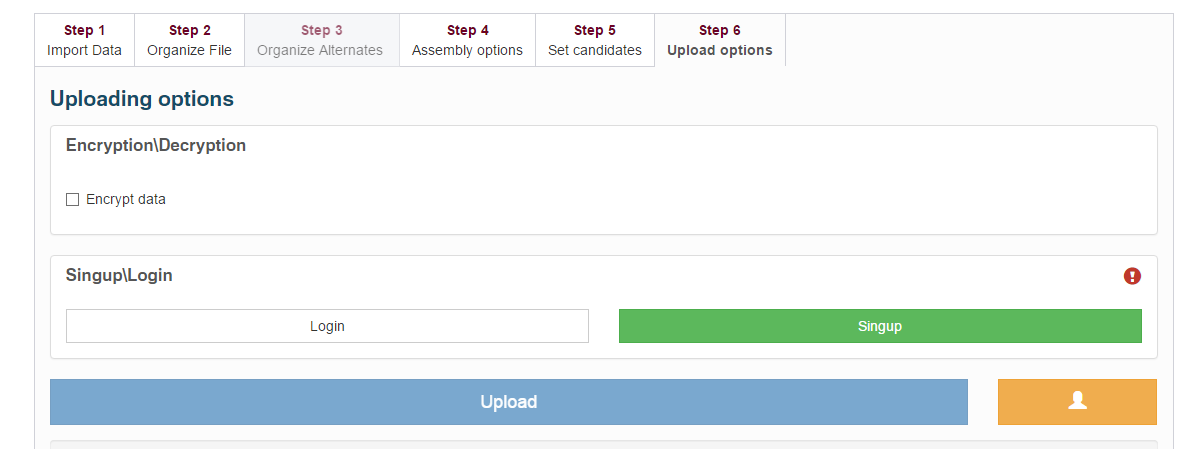
User may decide to select encrypt feature. In that case all data becomes encrypted. Only designated user assigned by admin can see the data and in case of hacking, it may take 20 years if all computer power on earth is used to crack the code.
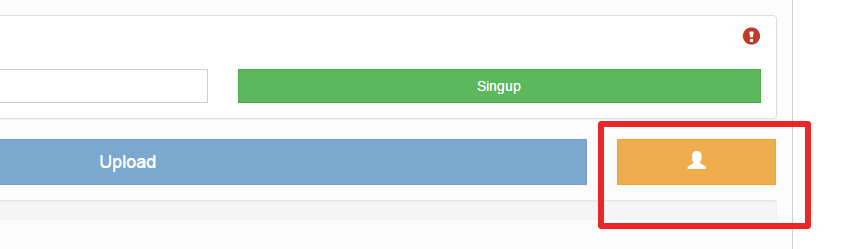
In order to upload the campaign, the admin user must login. If user had not yet had a chance to sign up, it can be done by clicking the Signup button. Then repeating the registration procedure from help section Signup. After all signing is done, user must verify the account by clicking on the account icon.
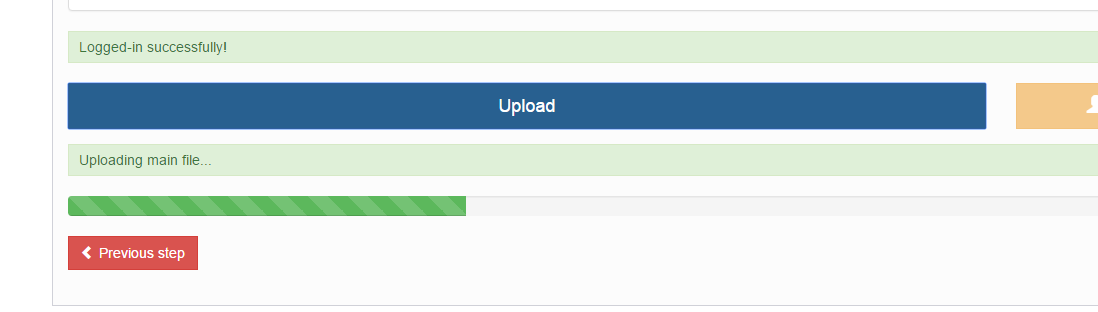
After successfully logging in, user should see confirmation message.
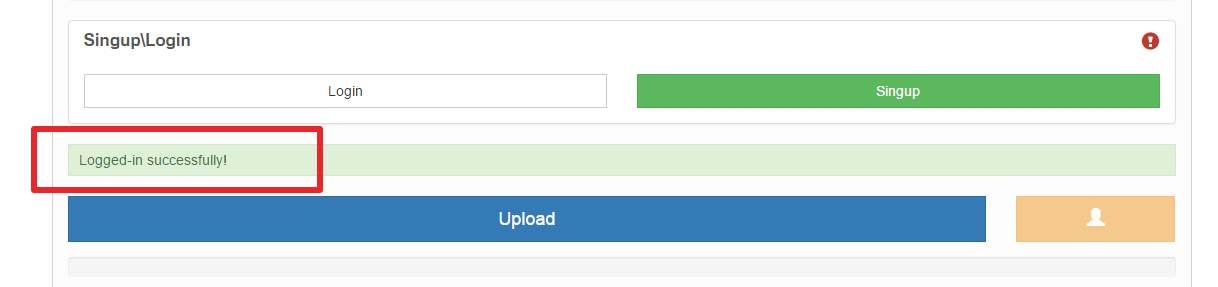
When ready, user simply clicks upload.
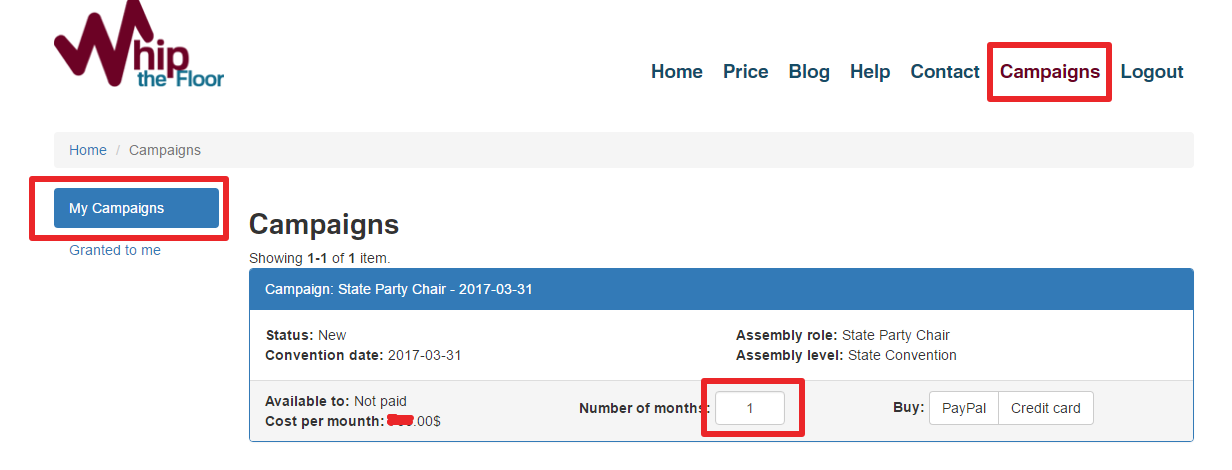
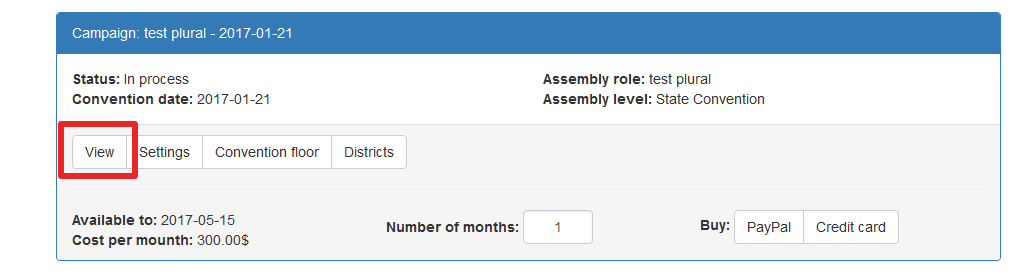
User can go at any time to his/hers campaigns by clicking on menu link called campaigns. If campaign is brand new, user has the option to purchase time to manage it. By simply entering how many months and then clicking on preferable way of payment, Credit card or PayPal.
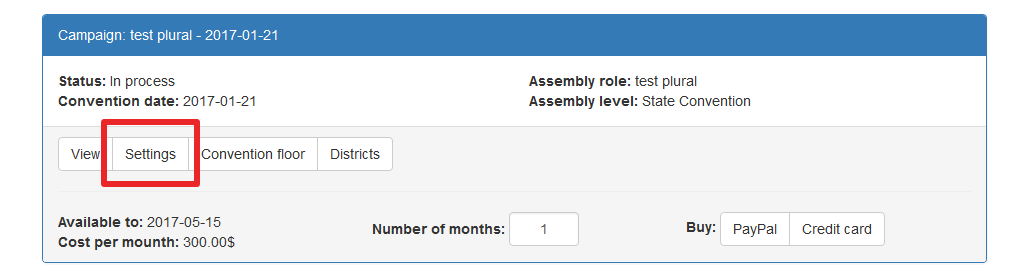
After payment, the system will show until when campaign is valid. Campaigns past due date and not renewed are still accessible by admin but cannot be used actively.
To change campaign settings user has to click on settings button under each campaign
There are two areas under settings that define these changes: Candidates and Assembly options
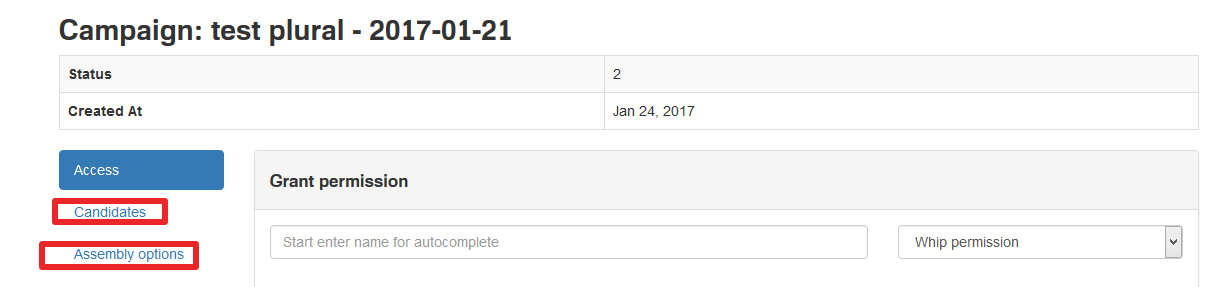
Under Candidates settings user can remove or add new candidate.
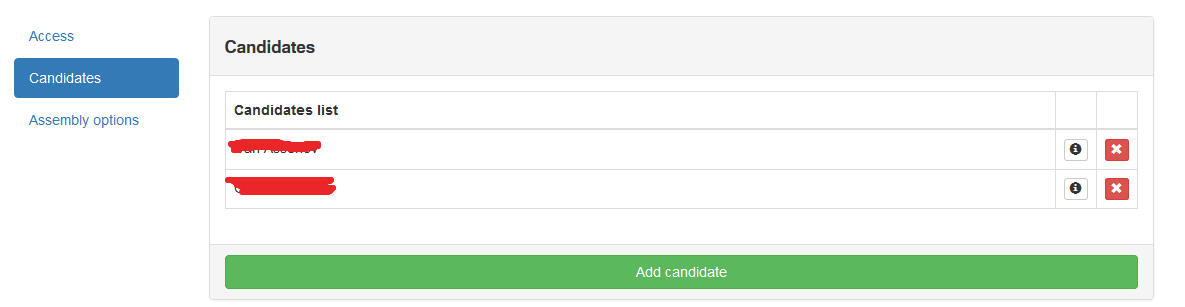
Under Assembly options user can edit settings related to the assembly
Admin user can grant access to the system via settings. Access can be granted to two different whip groups, co-admin and whips.
Co-admins have the same rights as the original admin, except they cannot delete the original admin.
Co-admin and admin have automatic access to mobile app as well.
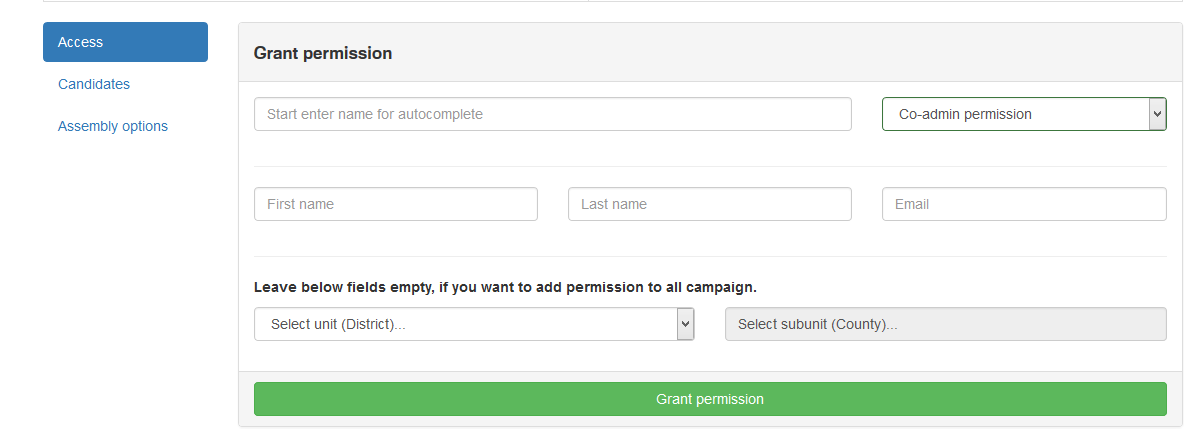
Access can be granted for the whole floor, individual unit of the floor, set of units, or within a unit access to just one or more subunit levels.
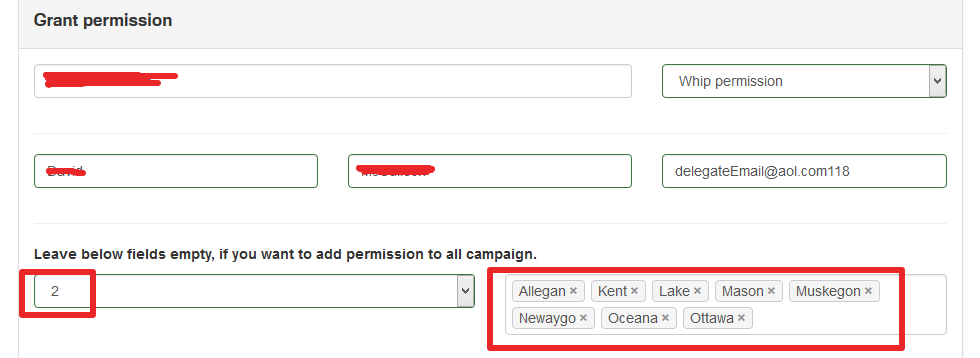
Whip permissions are automatically applied to the mobile app. Notification email is sent to each whip that is granted access to a campaign with instructions how to get the mobile app, download it, and sign in.
Whips can be part of different campaigns and have different access levels in those campaigns.
You can remove whip permission by clicking on the whip name under the permission granted area.

That will open a screen where admin can delete sub-unit level permissions or level permissions individually.
Whip The Floor allows admin users to easily export delegates’ data including candidates in csv file format. When exporting, the file format matches 100% campaign data fields and later it can be imported with some modifications.
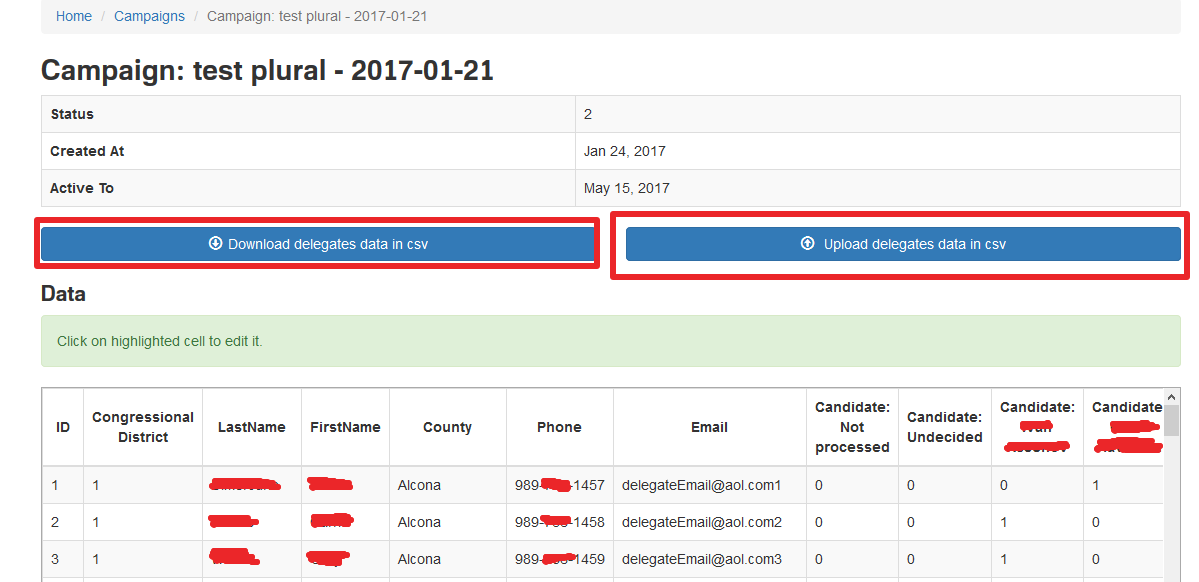
It is recommendedthat if a campaign has a lot of file data outside of the whip campaign data, first admin exports the file data from whipthefloor.comtm, uses that template and populates it with all other data the campaign had collected and then imports it back into the system.
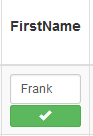
For every change, admin can even edit the data without downloading it. Simply highlight the cell for edit, perform the edit and confirm by clicking on the confirm button.
Admin can view and perform voting selection on delegates via web site. Unit level is always on the right side of the floor view.
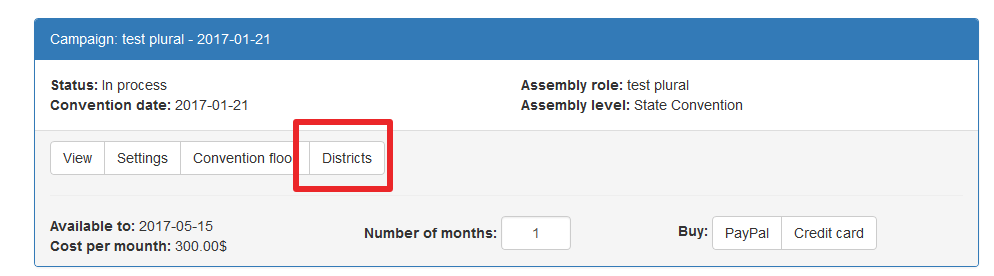
Depending on the assembly, level can be different.
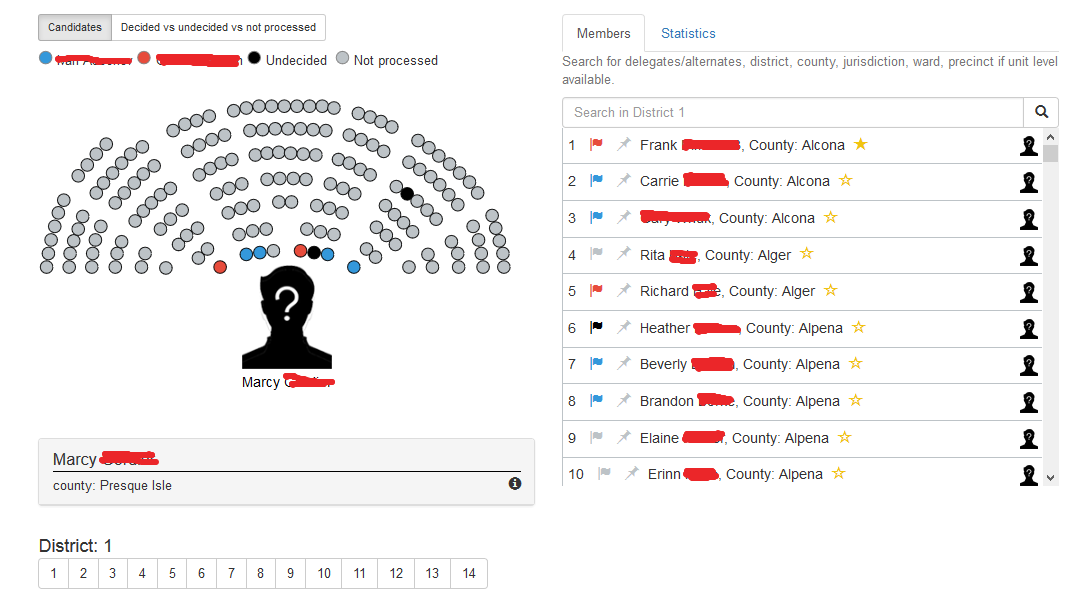
Admin can navigate between units. Candidates are indicated with specific unique color. Under Members tab, each delegate is listed from the selected unit. Sub-unit level of the floor is also shown next to each delegate.
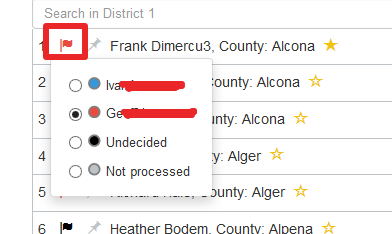
Admin can select voting preference on the spot without using mobile app. Simply clicking on the flag and selecting from the options will properly mark voting preference for the specific delegate.
Admin also indicates who is an influencer by selecting the star icon next to each delegate.
Selecting the pin will indicate that the delegate is present on the floor.
Admin also has the ability to oversee the whole floor. Sometimes it is easier to see the forest than the trees.

Admin has the same features available as in the unit level.